Creating With holding Tax Invoice in Oracle Fusion Applications
Please find the below setups for Creating the Customer
Step 1: Login as Application User
Step 2: you will be in home page as below
Step 3: we need to navigate to Functional Setup Manager, click on User Name and you will be able to see Setup and Maintenance option it will navigate you to functional setup manger.
Step 4: below is the functional setup manager window, we could able to see all the offerings as provisioned and enabled
Step 5: we could see Financial’s Offering as provisioned and enabled, we need to click on Implementation projects button in the below screenshot.
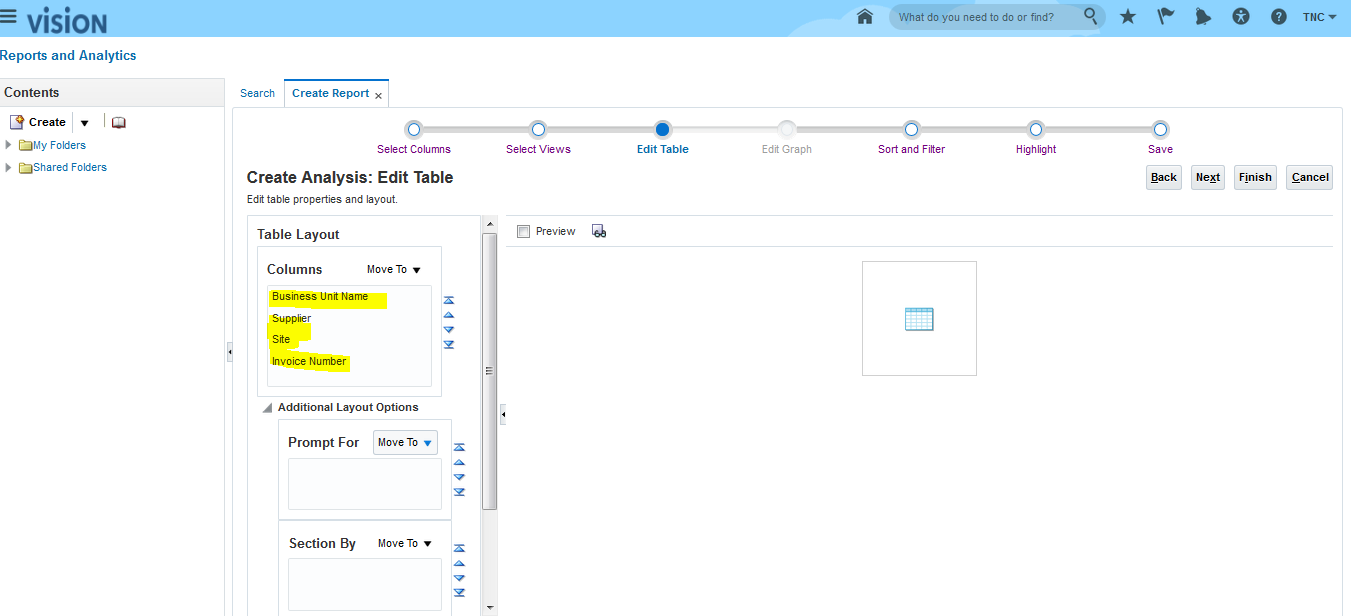
Step 6: Search for our Project in the search window
Step 7: Click on project name (hyperlink), it will open the project page
Step 8:Creating With holding tax authority as Supplier
Go to Navigator select the Procurement offering and Click on Supplier
Step 9:Click on Create Supplier
Step10 :In the below screen we can enter the required information and click on Create button
Step 11:Select the Supplier Type as Tax Authority
Step 12:Supplier Site Address Creation:
Step 13:Supplier Site Creation: when creating the Supplier site we can enter all the required information.
Step 14: Creating With Holding Tax Calendar
Manage Payables Calendar go to Task option
Step 15:Click on the + Symbol for creating the WHT Calendar
Step 16:Enter the Required information for Creating the WHT Calendar an click on Generate the periods so that system automatically system generate WHT Calendar for 12 periods like Jan to Dec
Step 17:Setup the WHT Options:
Go to Implementation project and search the task With Holding Tax options
Manage Tax Reporting and WHT Options click on Go to Task
Step 18:Enter the Required information for WHT options and then save and close
Step 19:Creating the Tax Codes
Go to Implementation project and search the task Manage Tax Codes and Go to Task
Step 20: For Creating Tax codes enter all the required information and Save and Close
Step 21:Creating the Tax Group:
Go to Implementation project and search the task Manage With holding Tax Classification and Go to Task
Step 22:Click on + Symbol for creating the Tax Group
Step 23:Enter the Required information and then save and close
Step 24:Assign Tax Group/ Tax Classification to Standard Supplier
Go to Navigator select the Procurement offering and Click on Supplier
Step 25:Click on manage Supplier
Step 25:Supplier Profile option and go to Income Tax options Enable the Check box Use WHT Group and Select the WHT Group in LOV and Save and close the screen
Step 25:Create the Standard Invoice
Go to Navigator select the Payable offering and Click on Invoices
Go to Task Icon and click on Create invoice
Step 26:Enter the Required information for creating the WHT Invoice and Validate it
Step 27:Query the Withholding Tax invoice and Validate it